Or how I learnt to love micropython on the ESP2866.
I work for a small company that does things with cameras. We have a public API, which needs to be working, otherwise we don’t get money. One day we had an outage. As senior sysadmin, devop, SRE it was my job to coordinate the panic.
It was a Russian doll of mini cockups, which coalesced into one large fuckup. Of course it happened at a critical time, just before a large client was about to launch and international new product campaign. Needless to say we needed a solution and fast.
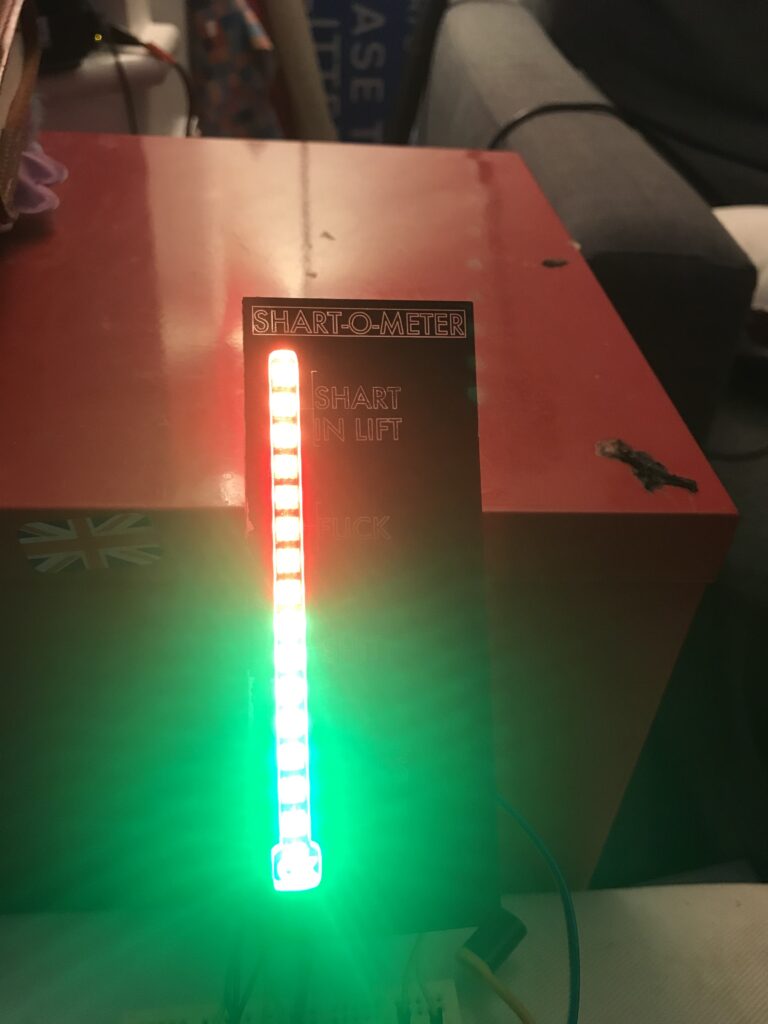
We needed a system that would quickly signal to the whole company how fucked we were at hat particular moment, and how many things we needed to drop in order to fix the outage. I therefore came up with the “shart-o-meter” scale.
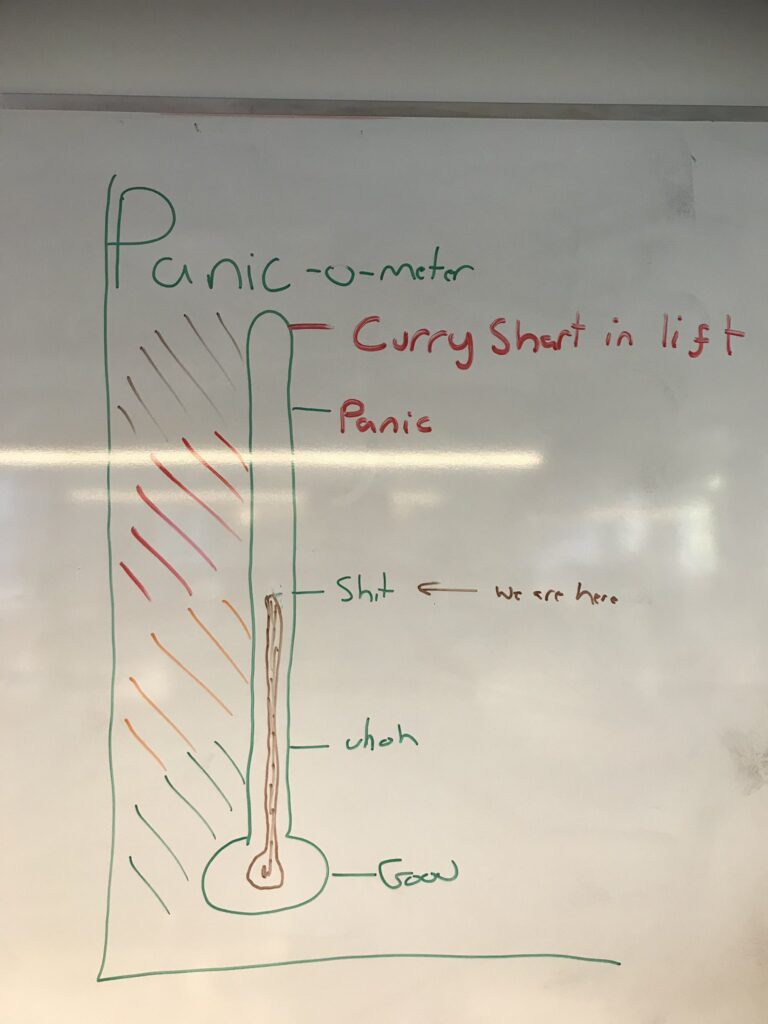
This photo was taken a few hours after the start of the outage.
Sharts all the way down
The outage was fixed, lots of lessons were learnt, and I wrote a really good incident report. Because I’m a senior, I also took the liberty of adjusting procedure to make sure we included the newly minted “shart-o-meter” scale.
The CTO asked me: “what happens when we have multiple offices, how to we coordinate panic levels?” which got me thinking, I need a proper physical shart-o-meter.
Analogue meters
I picked up a analogue meter from a local house clearance shop a few years ago. It appeared to be designed to read a thermocouple. Its really well made and has a variable capacitor in it (I’m not sure why).
So the first iteration was opening up the moving needle meter and writing a custom scale.
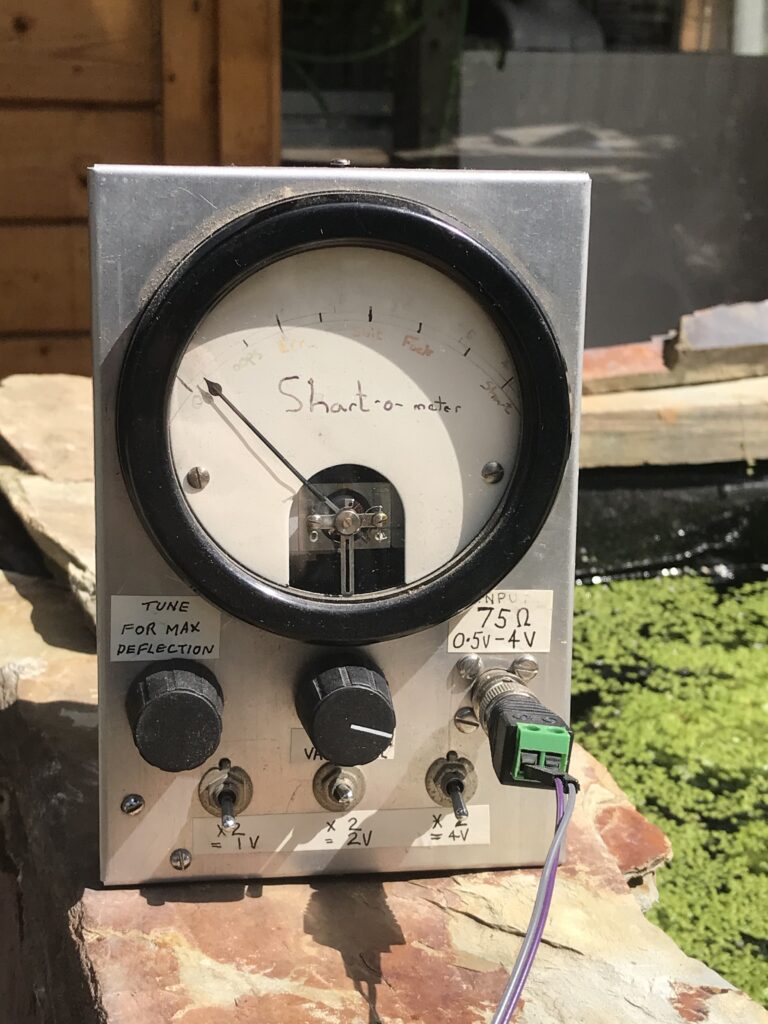
It was a simple case of attaching an ESP2866 and hooking up the analogue out to a MQTT topic. Because its a solid metal case, I couldn’t hide the wifi loving microcontroller inside, so I had to be content with it hanging off the 75 ohm input.
However, thats not quite the look I wanted. I really want something more military.
Aircraft Aesthetic
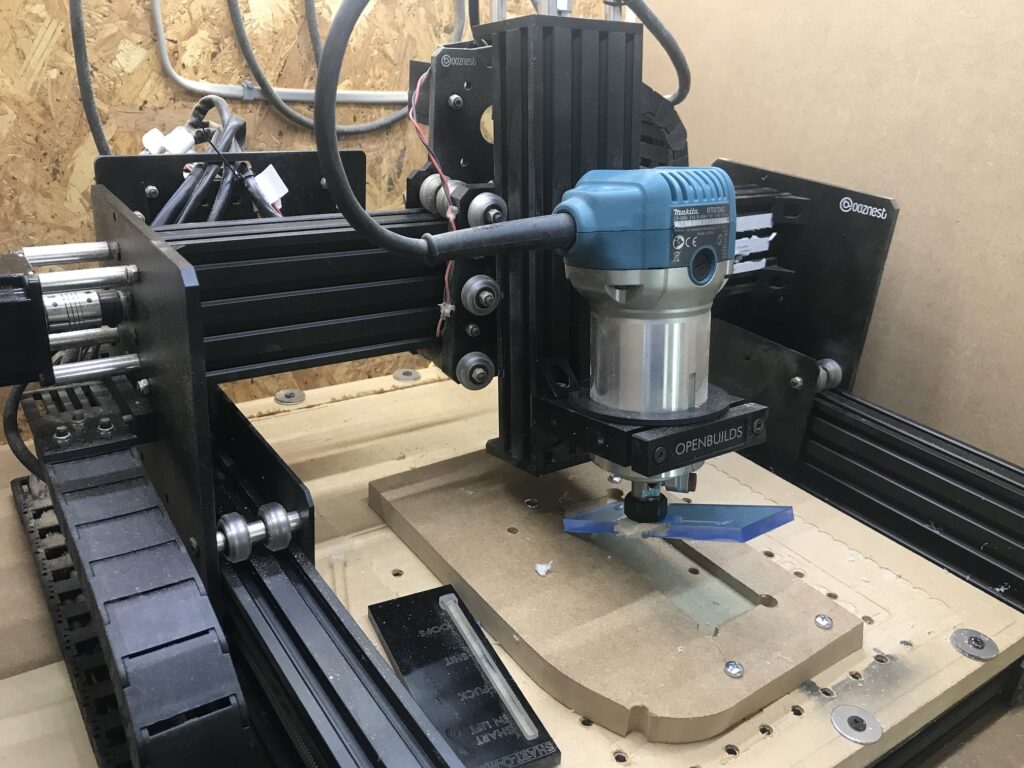
Many years ago I had bumped into this blog post about making illuminated instrument panels using a CNC machine. Back then it was irrelevant, but it did leave an impression.
I had a rough idea about how the meter should look. I knew that I wanted it to be black, and the text to be backlit. I also knew that I wanted a thermometer style indicator.
I therefore fired up fusion360 and sketched out some ideas. I had a few issues with fonts. It turns out that fusion is very picky about what fonts it’ll let you use in sketch mode. I managed to poke it until it let me use Futura.
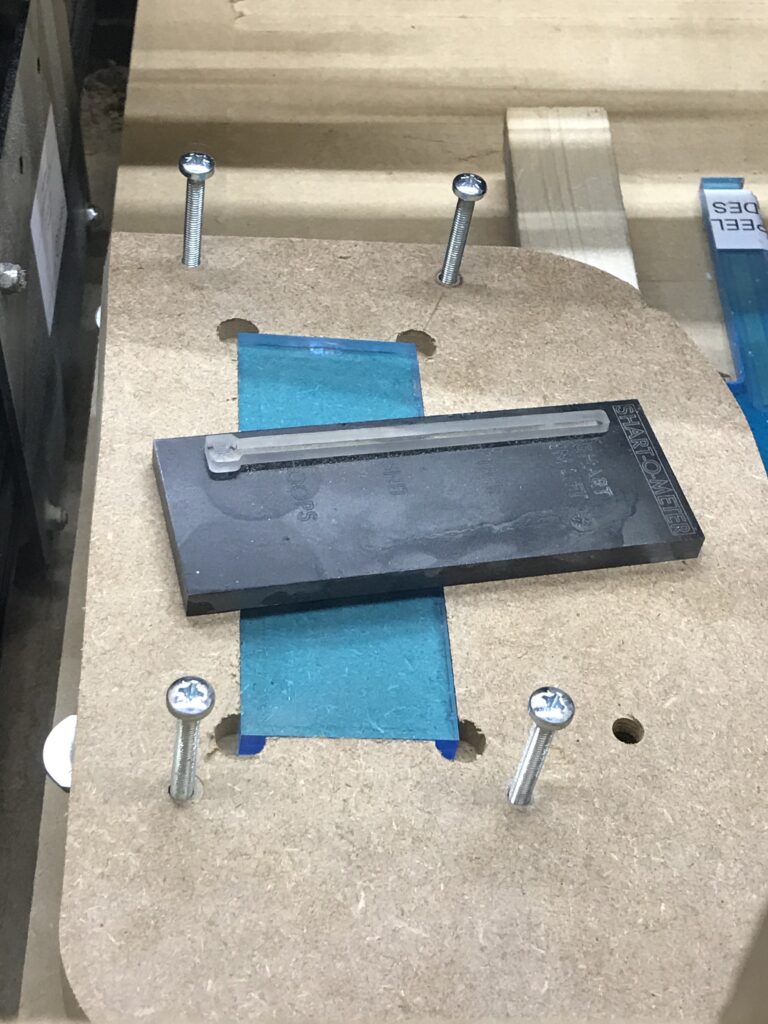
Order of operations is quite important. I need to cut out a hole, spray paint the plastic, cut out the indicator window and then engrave the text.
All of that requires precise alignment. One also needs to make sure the work piece is tied down properly.
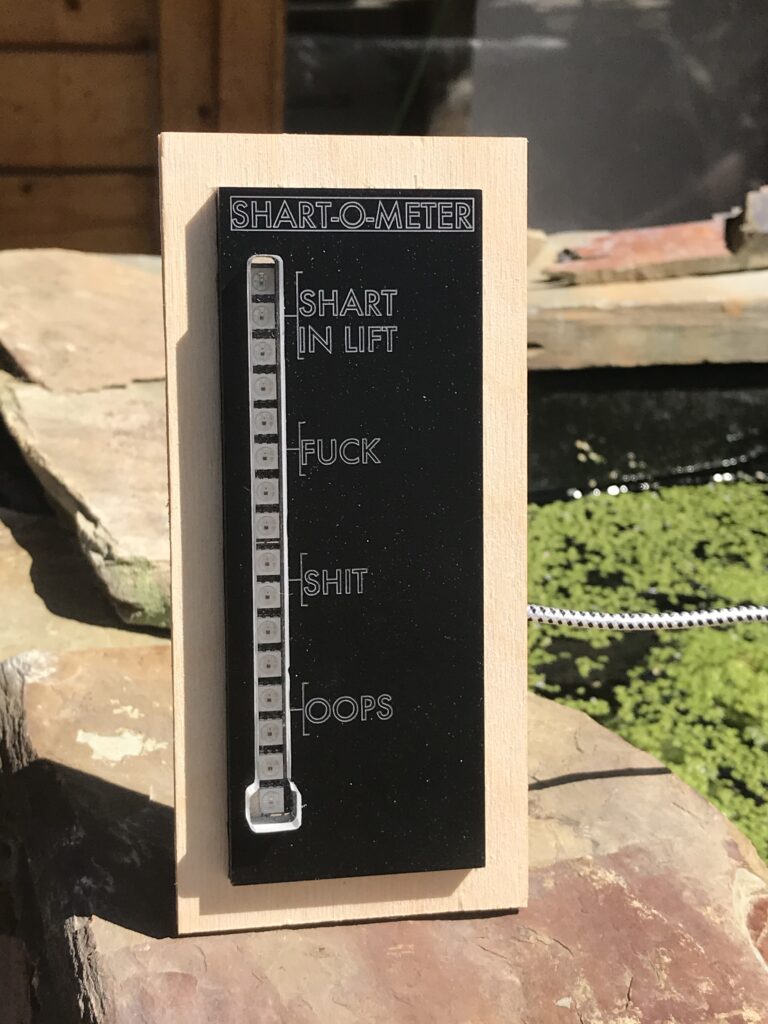
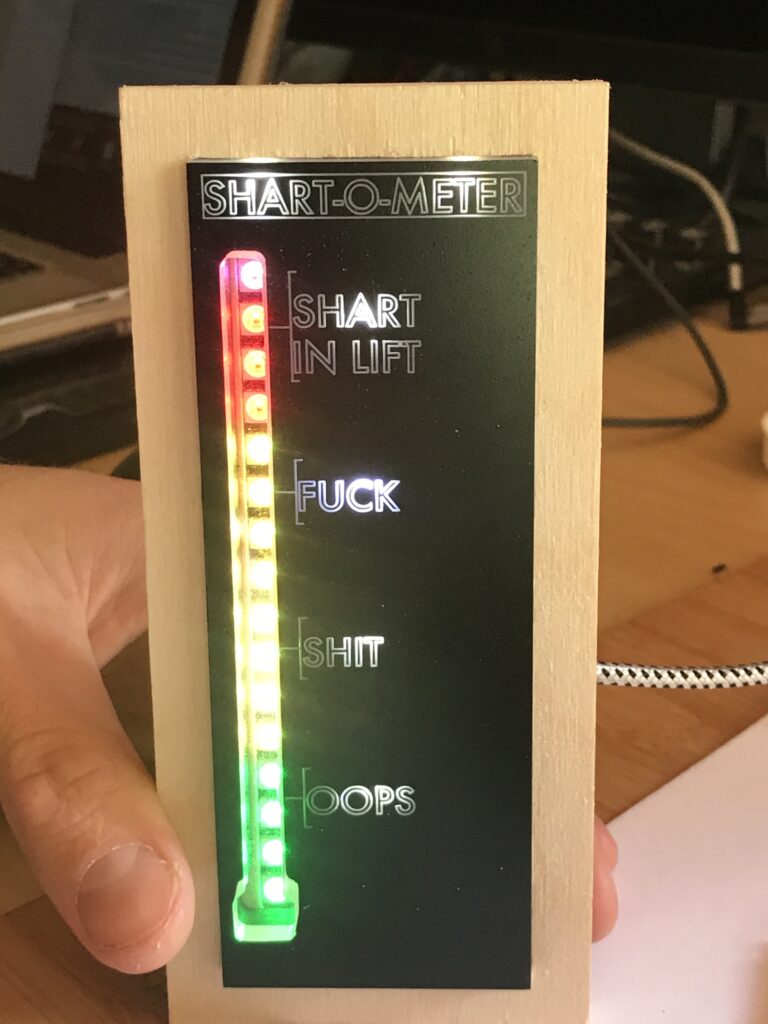
All glory to shart-o-meter
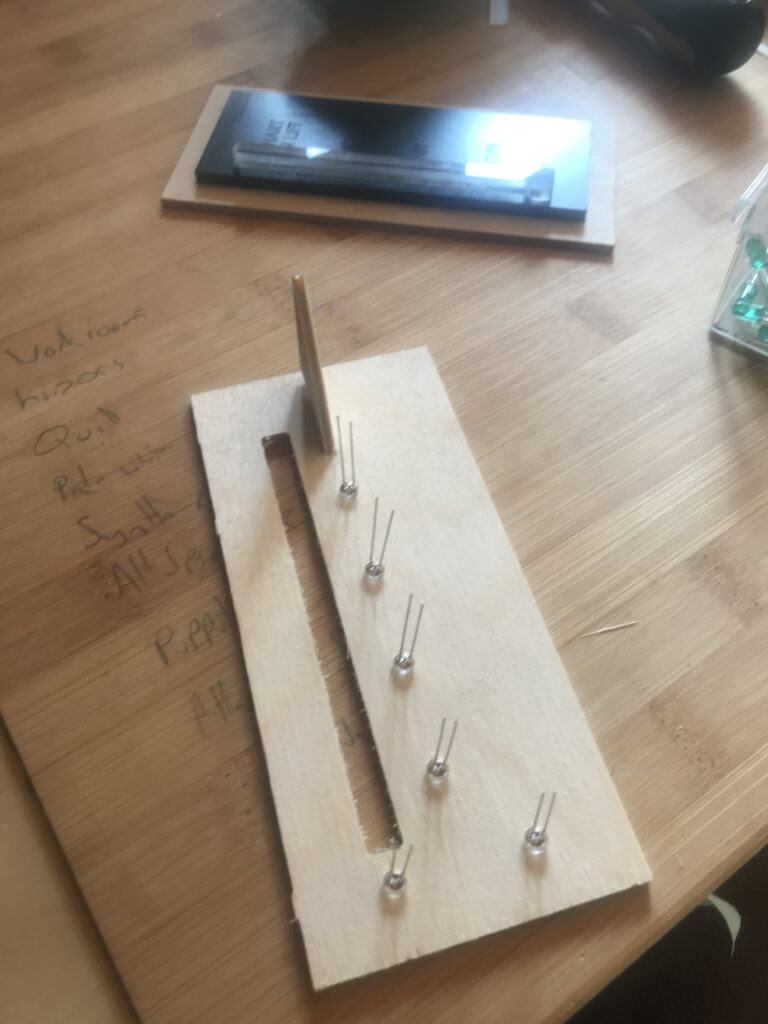
Having made a prototype design (its in the top of the picture below) I now needed to add the extra bits that would make it useable: A frame, a backlight and some software.
Here is a demonstration of the analogue meter against the new sexy digital one. The moving coil has a lovely smoothing factor that I should one day implement in software for the bar graph.
Wrapping up
What would I change if I could? The backlight is still patchy, so I’d either need to light from the edge, or invest some research time into diffusers.
Also, a more difficult problem is accurately rendering brown in LED form. If anyone knows how to do that, please do get in touch.
So, now that you’ve seen some of my design thinking, here are some sexy press shots for your delectation.