SHED OF AWESOME, Part V
Now for the fit out. Now that the outside is mostly complete, its time to insulate, electrify and network the shed.
Insulation
Although the shed is fairly thick, its about as thermally efficient as a Victorian house (fun fact, 45mm of spruce has the same thermal resistance as double skin brick wall.) To make the whole thing habitable, we need to line the walls with some sort of thermally resistant layer.
You’ll have seen in my previous posts the various pros and cons of the different types of insulation. Because I’m not made of money, and I want to insulate against noise as well as heat loss, I have plumped for rock wool. Its also cheap. I’ve found the most efficient (0.034) at 100mm. This means that I should be able to get a total u value of around 0.38/0.45. Not quite building regs, but a lot better than the house proper.
To add to the complications, the shed breaths according to the seasons. Winter it grows, summer it shrinks. This means that screwing battens directly tot he wall is a no no. Everything needs to be subtly movable. This means washers and slidy joints. Fortunately the shed comes with a template in the form of “storm reinforcements”
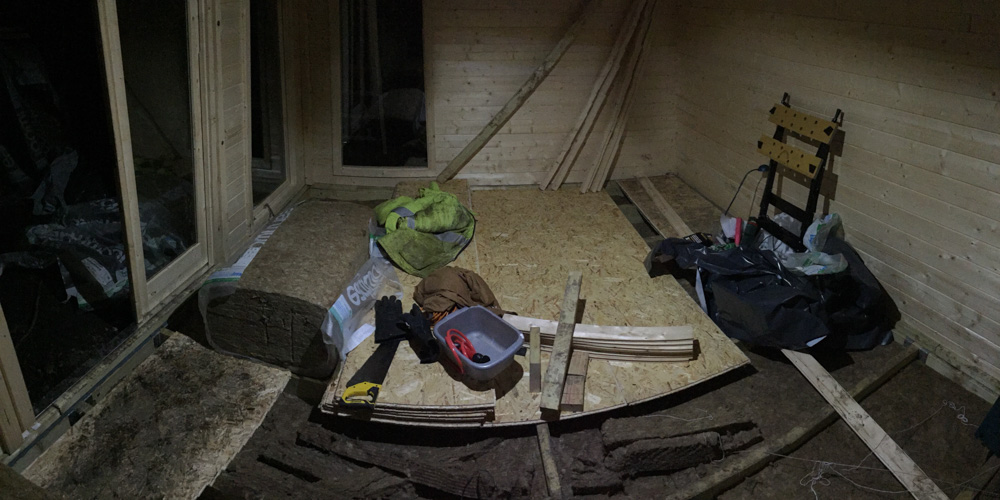
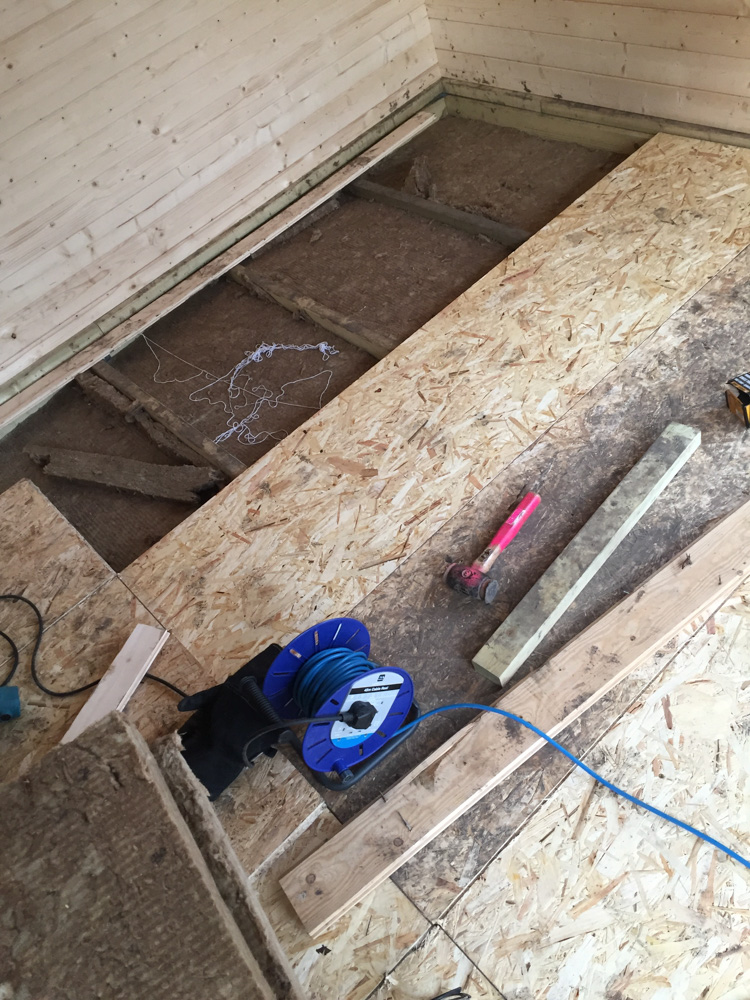
Make the floor warm

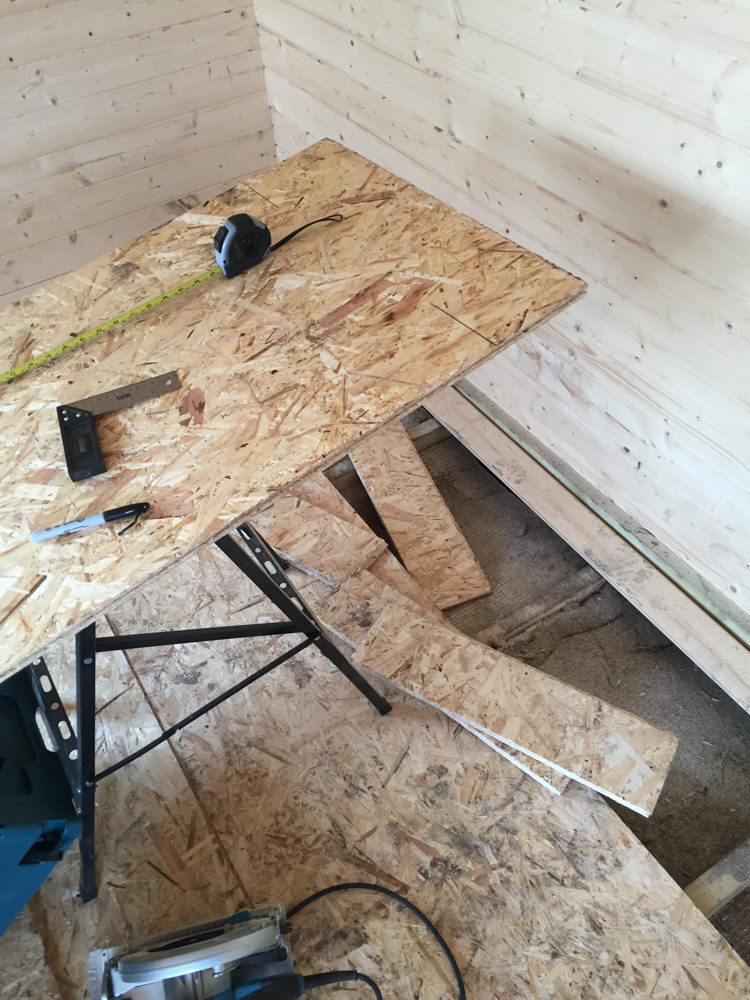
Standard stuff really. Trying not to compress the rockwool too much. Once the rockwool has been inserted into the gaps, I can put the floor in place. Its tongue and groove 18mm OSB. This should, if locked together properly, make a nice solid floor.
Cutting the edges off requires the use of a circular saw, because jigsaws suck massive bollocks. Once the panels have been cut to size, its just a case of laying them down and screwing them in place.
Torx screws
I had a revelation. I was sick and tired of stripping the heads of Phillips screws (don’t get me started with flat heads). I had ran out of 100mm screws and was browsing my local fixings stockist, where I discovered that torx head screws are not only affordable, but practical as well (passivated, comes with a driver and everything)

It has made life so much more easy. No more pressing 70KGs onto a screw just to get it to bite. You can drive in a 100mm screw into solid oak with one hand, upside-down.
Throw out your Phillips head stuff, rush out to buy torx head turboscrews.
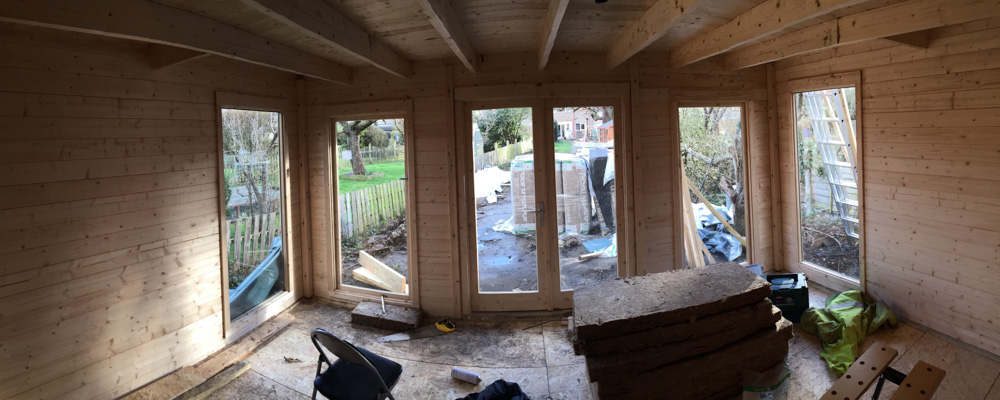
Starting to look like a nice place
Insulate the walls.
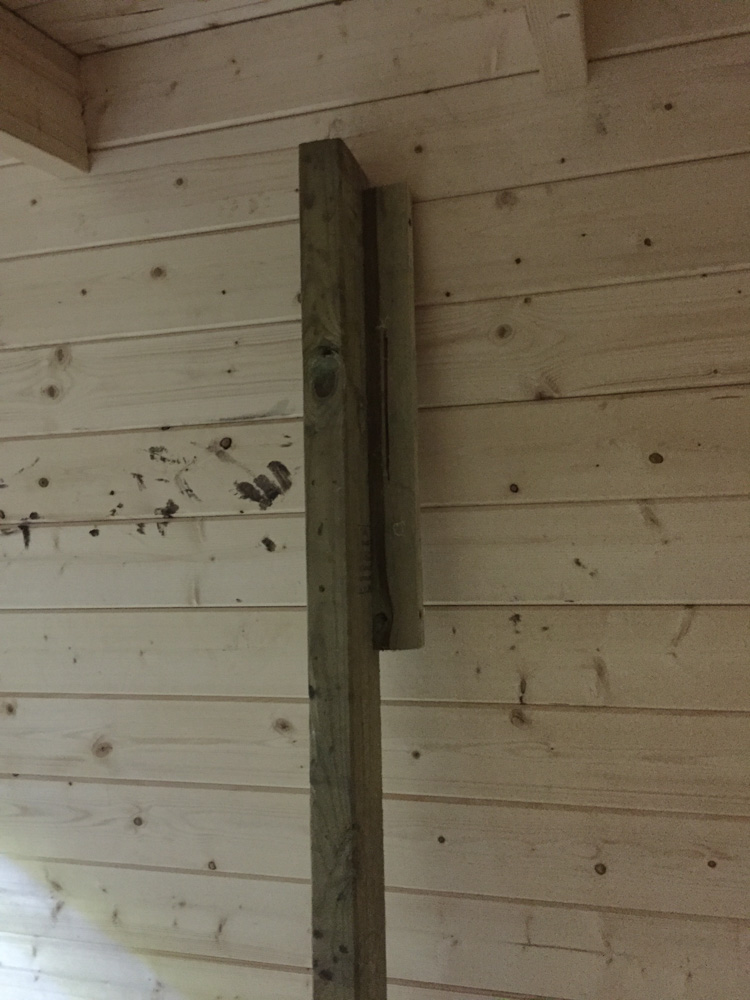
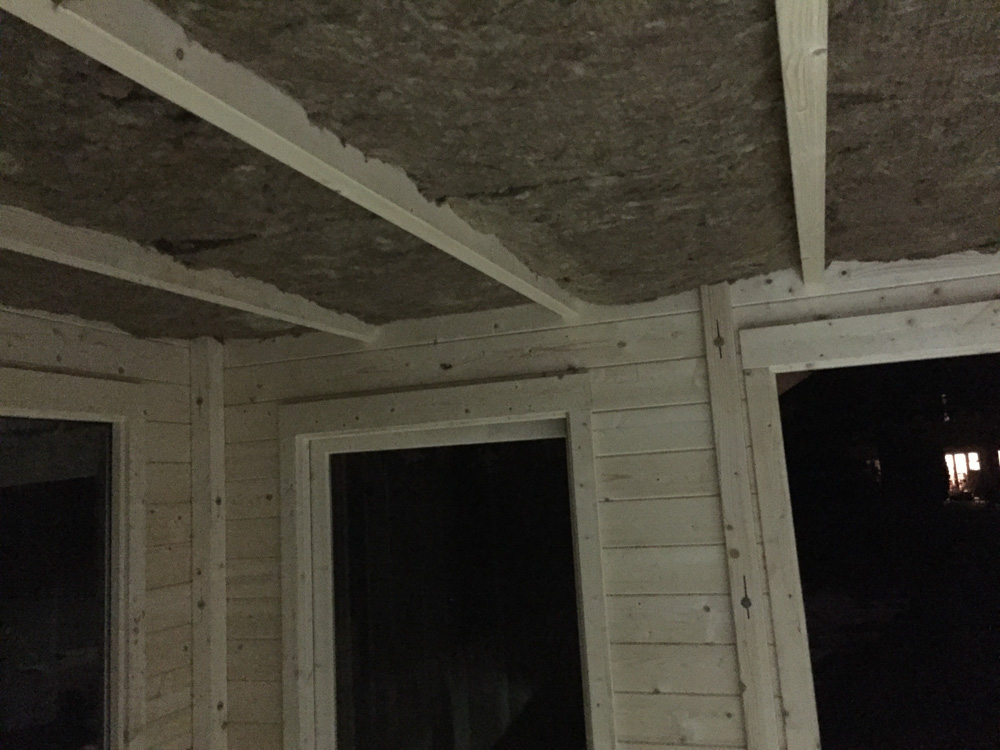
This is where it gets tricky. Attaching battens to the wall is not easy. One must allow for the yearly movement of the shed. It took me a while to figure out how to create the long thin holes required for the fixings. Then I realised that a circular saw makes great long thin cut!
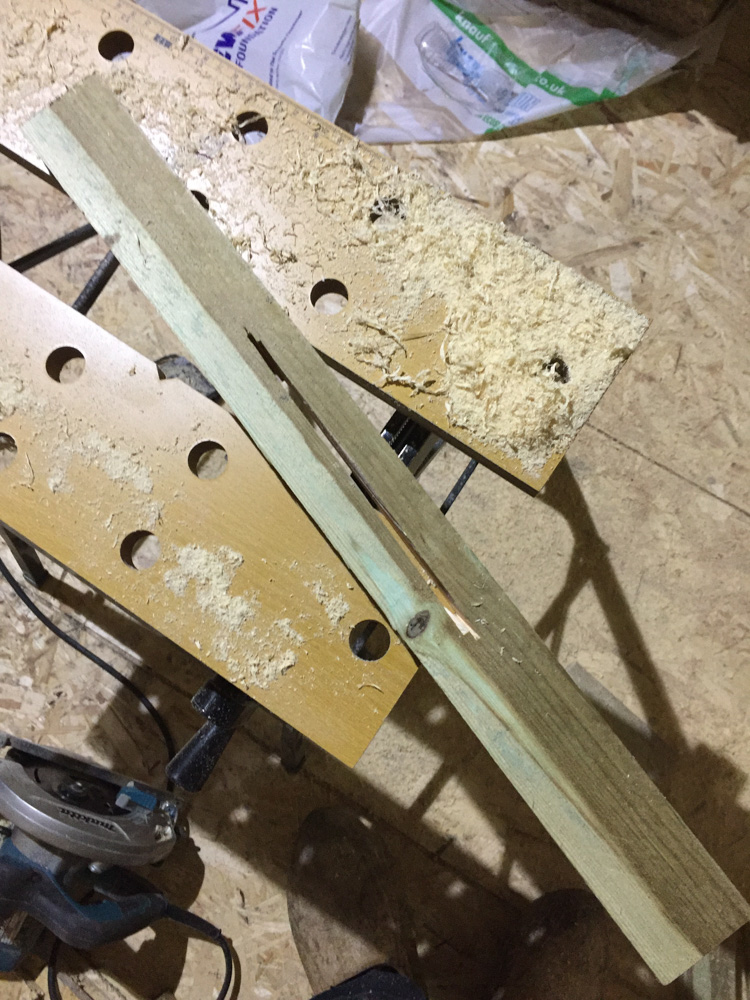
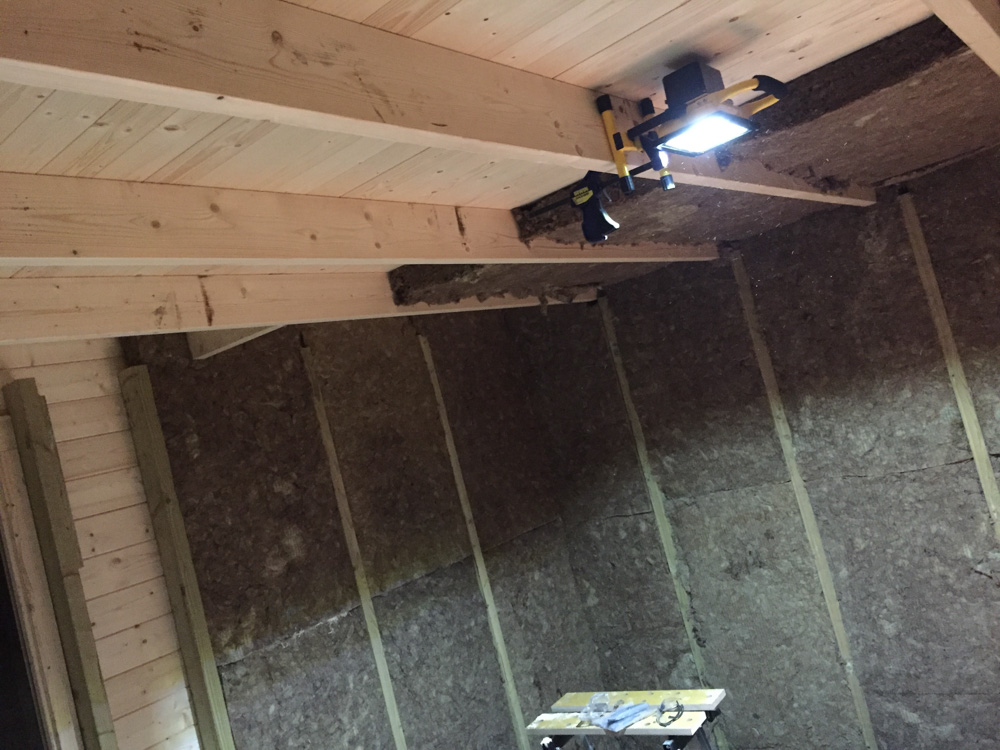
Once attached to the side of a 100mm beam, it creates a brilliant pocket to receive the insulation
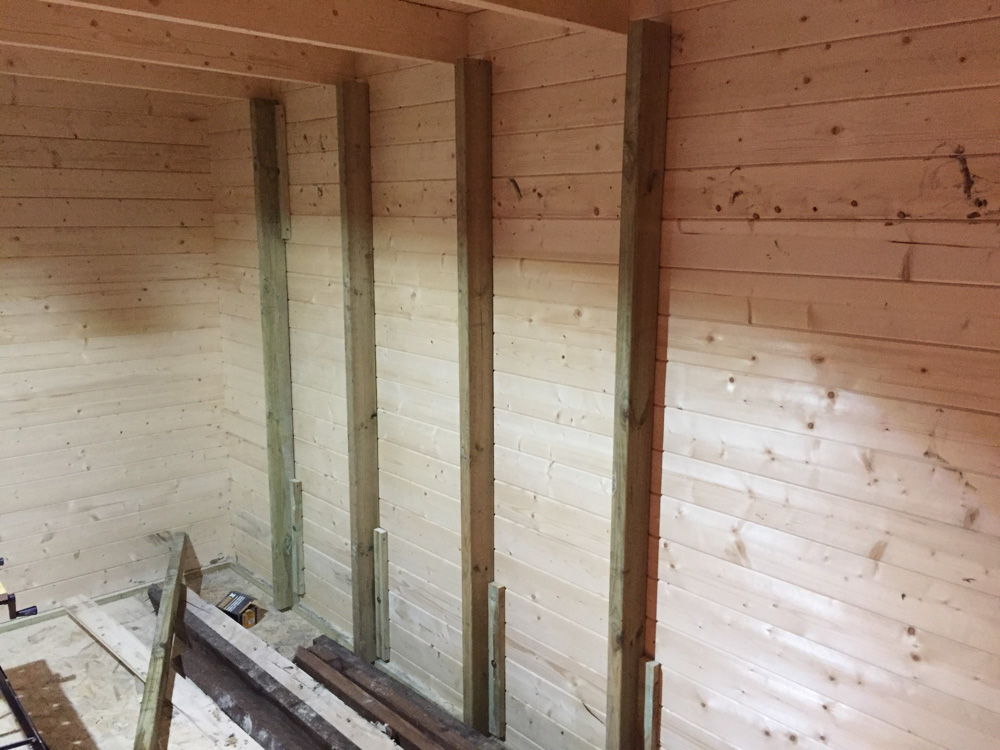
Now, because the battens are spaced just under 600mm apart, the rockwool slabs fit like a champ.
Insulation of the roof
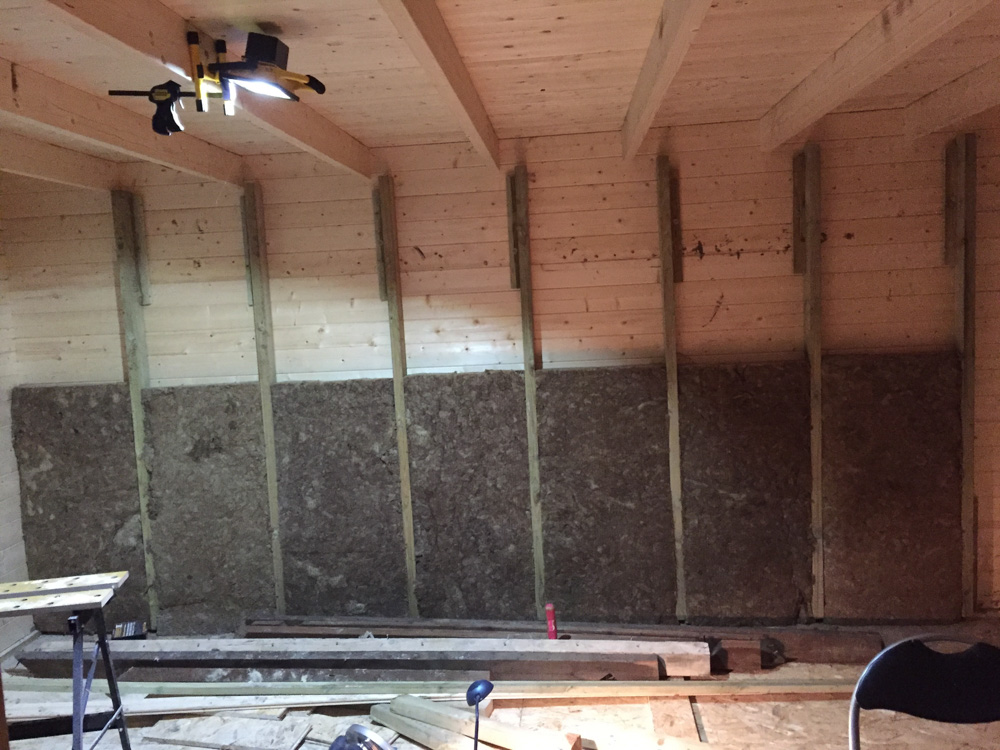
This is where the money is. The roof has a black top and recieves 17kw of heat on a good day, we need something to slow that down. Basically I’ve just cut the rockwool slabs to fit between the beams
Cover it all
To make the place habiatable, we need to put a cover of the rockwool. Its really nasty itchy stuff, and the prospect of having to wear googles and a resperator when inside is not appealing. Therefore it must be covered.
I spent a while figuring out the best choices, cost vs effort. I suspect I should have used plasterboard, but that looks hard to get right, and its not very strong. Therefore I chose 11mm OSB2. Yes it looks shit, but I can always cover it.
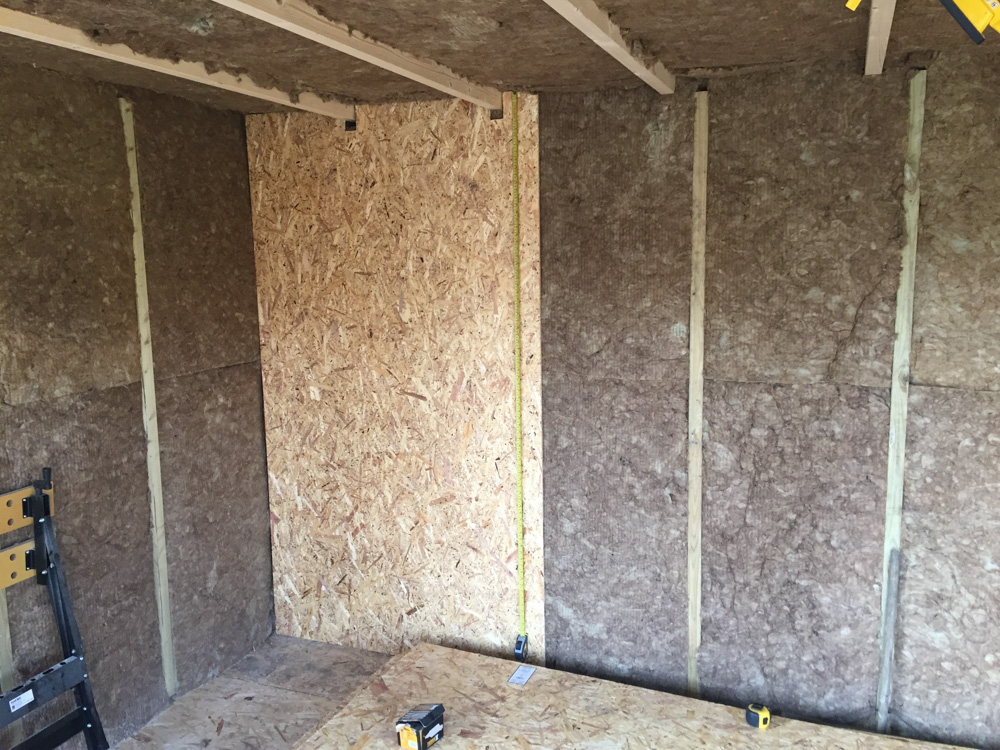

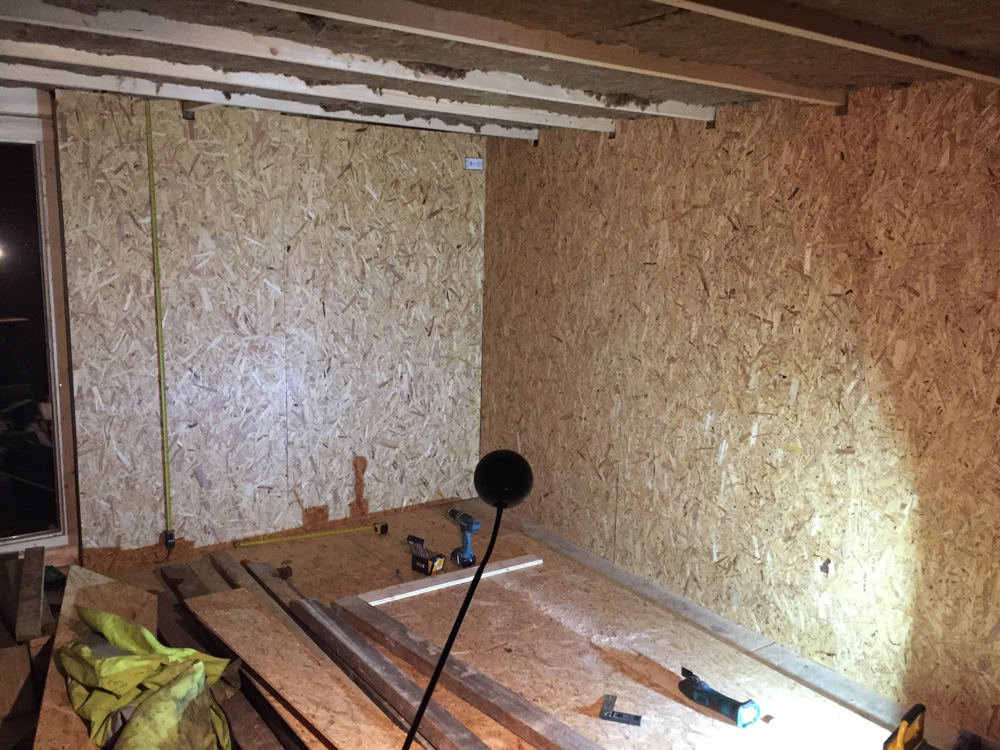
With that the shed is structurally complete! The astute amongst you will have noticed that I’ve not insulated around the windows and doors. You’re correct. That shit is hard, and I suspect has minimal gains. If its a problem I’ll think about doing it later.
Now onto making the bench, running power and networking