Dovecot Build – rocket carriage
Physics is a dick
The hardest part of this build turned out to be the rocket carriage. It took three revisio
ns, and even then its still not 100%
Scissor lift
The first plan was to use a Scissor lift. The advantage being that it could raise the rocket assembly clear above the Dovecot. However after cutting a prototype I realised that they are hopelessly fiddly.
They require a massive amount of force to extend from 0-10%
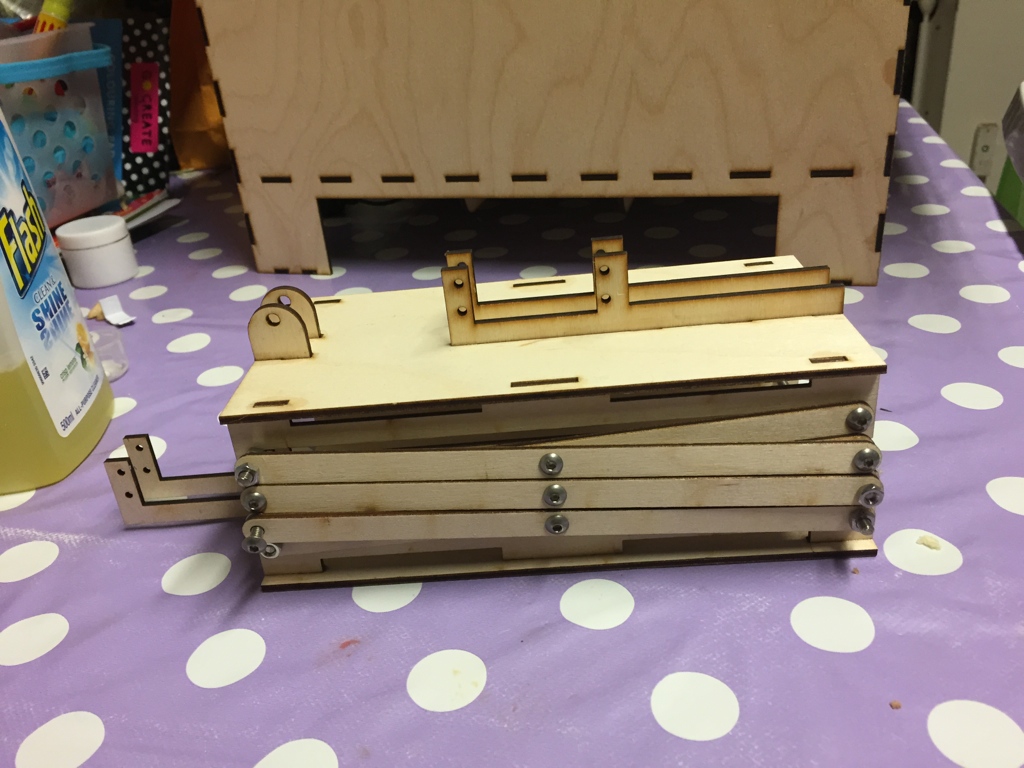
They are also not as inherently stable as I had hoped:
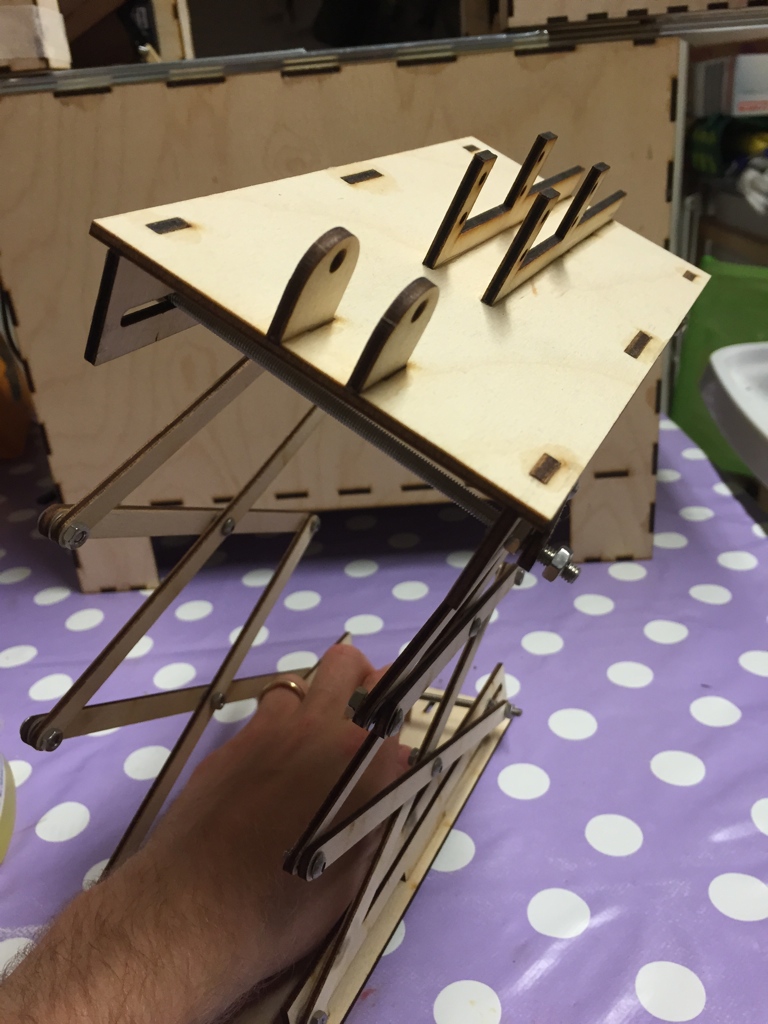
Bring on the lift carriage
After much frustration, I realised that the rockets didn’t need to be lifted above the roofline. They just needed to be high enough not to hit the sides.
This meant I could use a different style of rocket assembly.
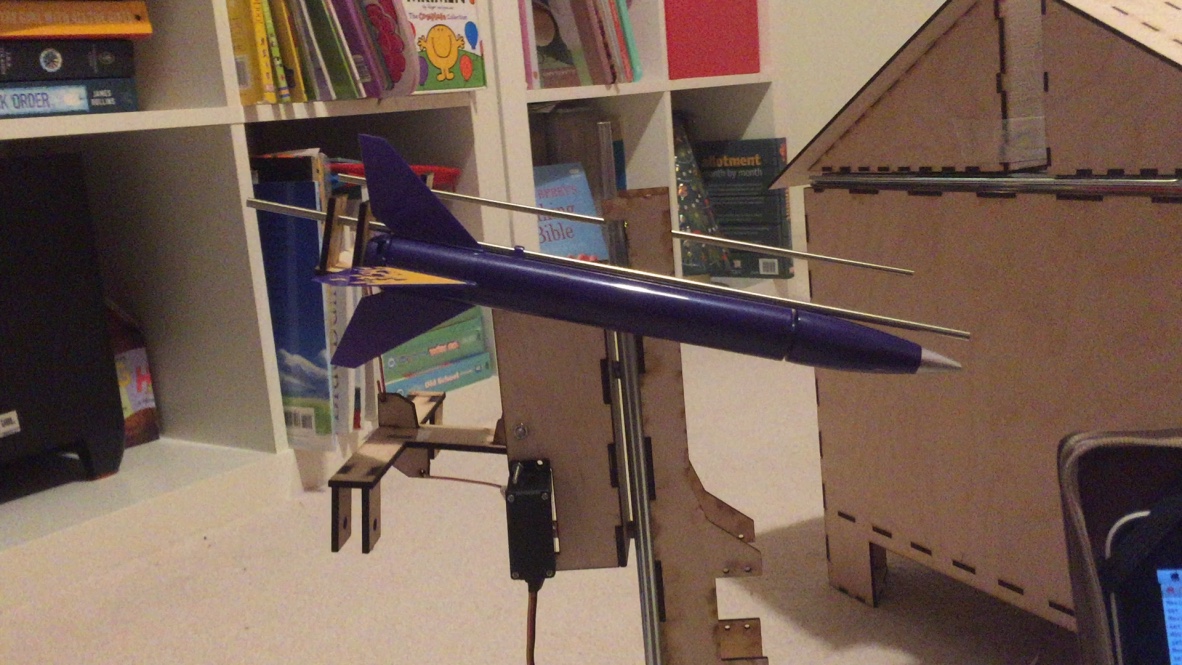
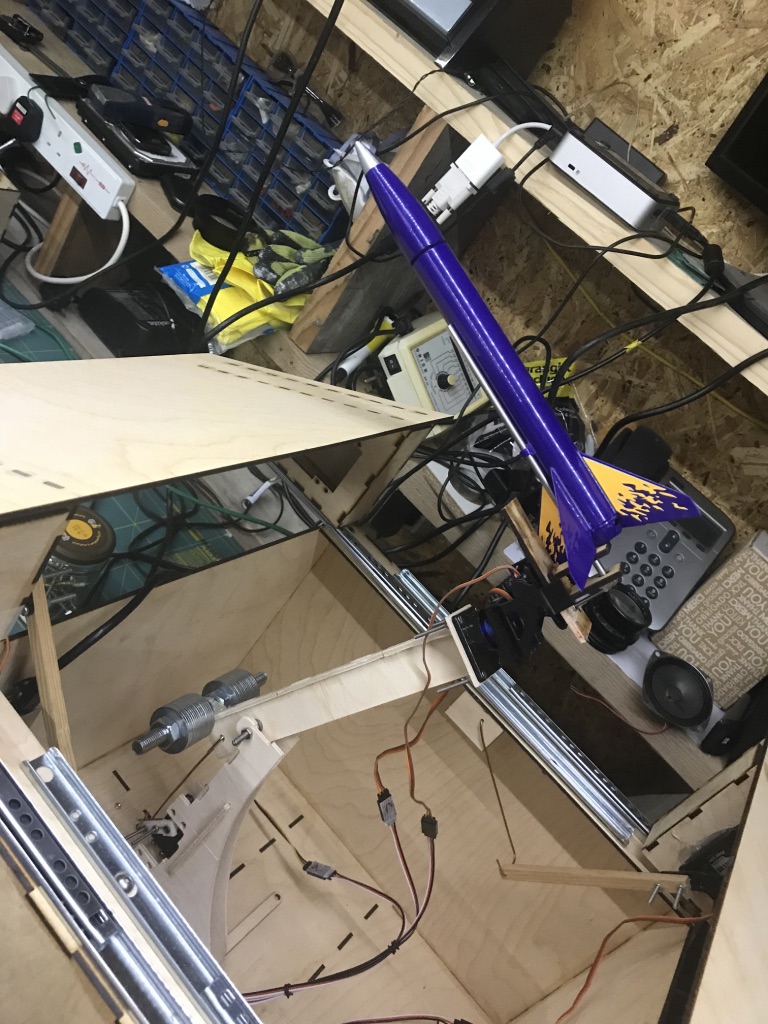
Its a tilting mechanism attached to a draw slider, which is then attached to the pan assembly. A continuous rotation server is used to lift the tilt mechanism up and down, with limit switches to stop the hole thing exploding

However its limited. Because of the massive counterweight, it can only sit in a certain place. This then limits the size of the rockets. It also means that if the assembly is not perfectly in the “parked” position it blocks the doors. The final and fatal problem is the lift system breaks really easily.

Next
The lever of simpleness.
So, after a massive hiatus, new house, new job, new child, I decided to pick up where I left off. Since I now have a Mini Mill I can now cut parts directly. However I have a dramatically smaller cutting area (down from A3 to 100/180mm). I can make complex things, but they need to be small.
I spent a while thinking about the problem, measuring and finding the most off the self way of doing the whole thing. I therefore came up with the “Lever of rocketry” Why a lever? I can use a count weight to reduce motor stress, and a pre-made pan/tilt camera mount to control the rockets.
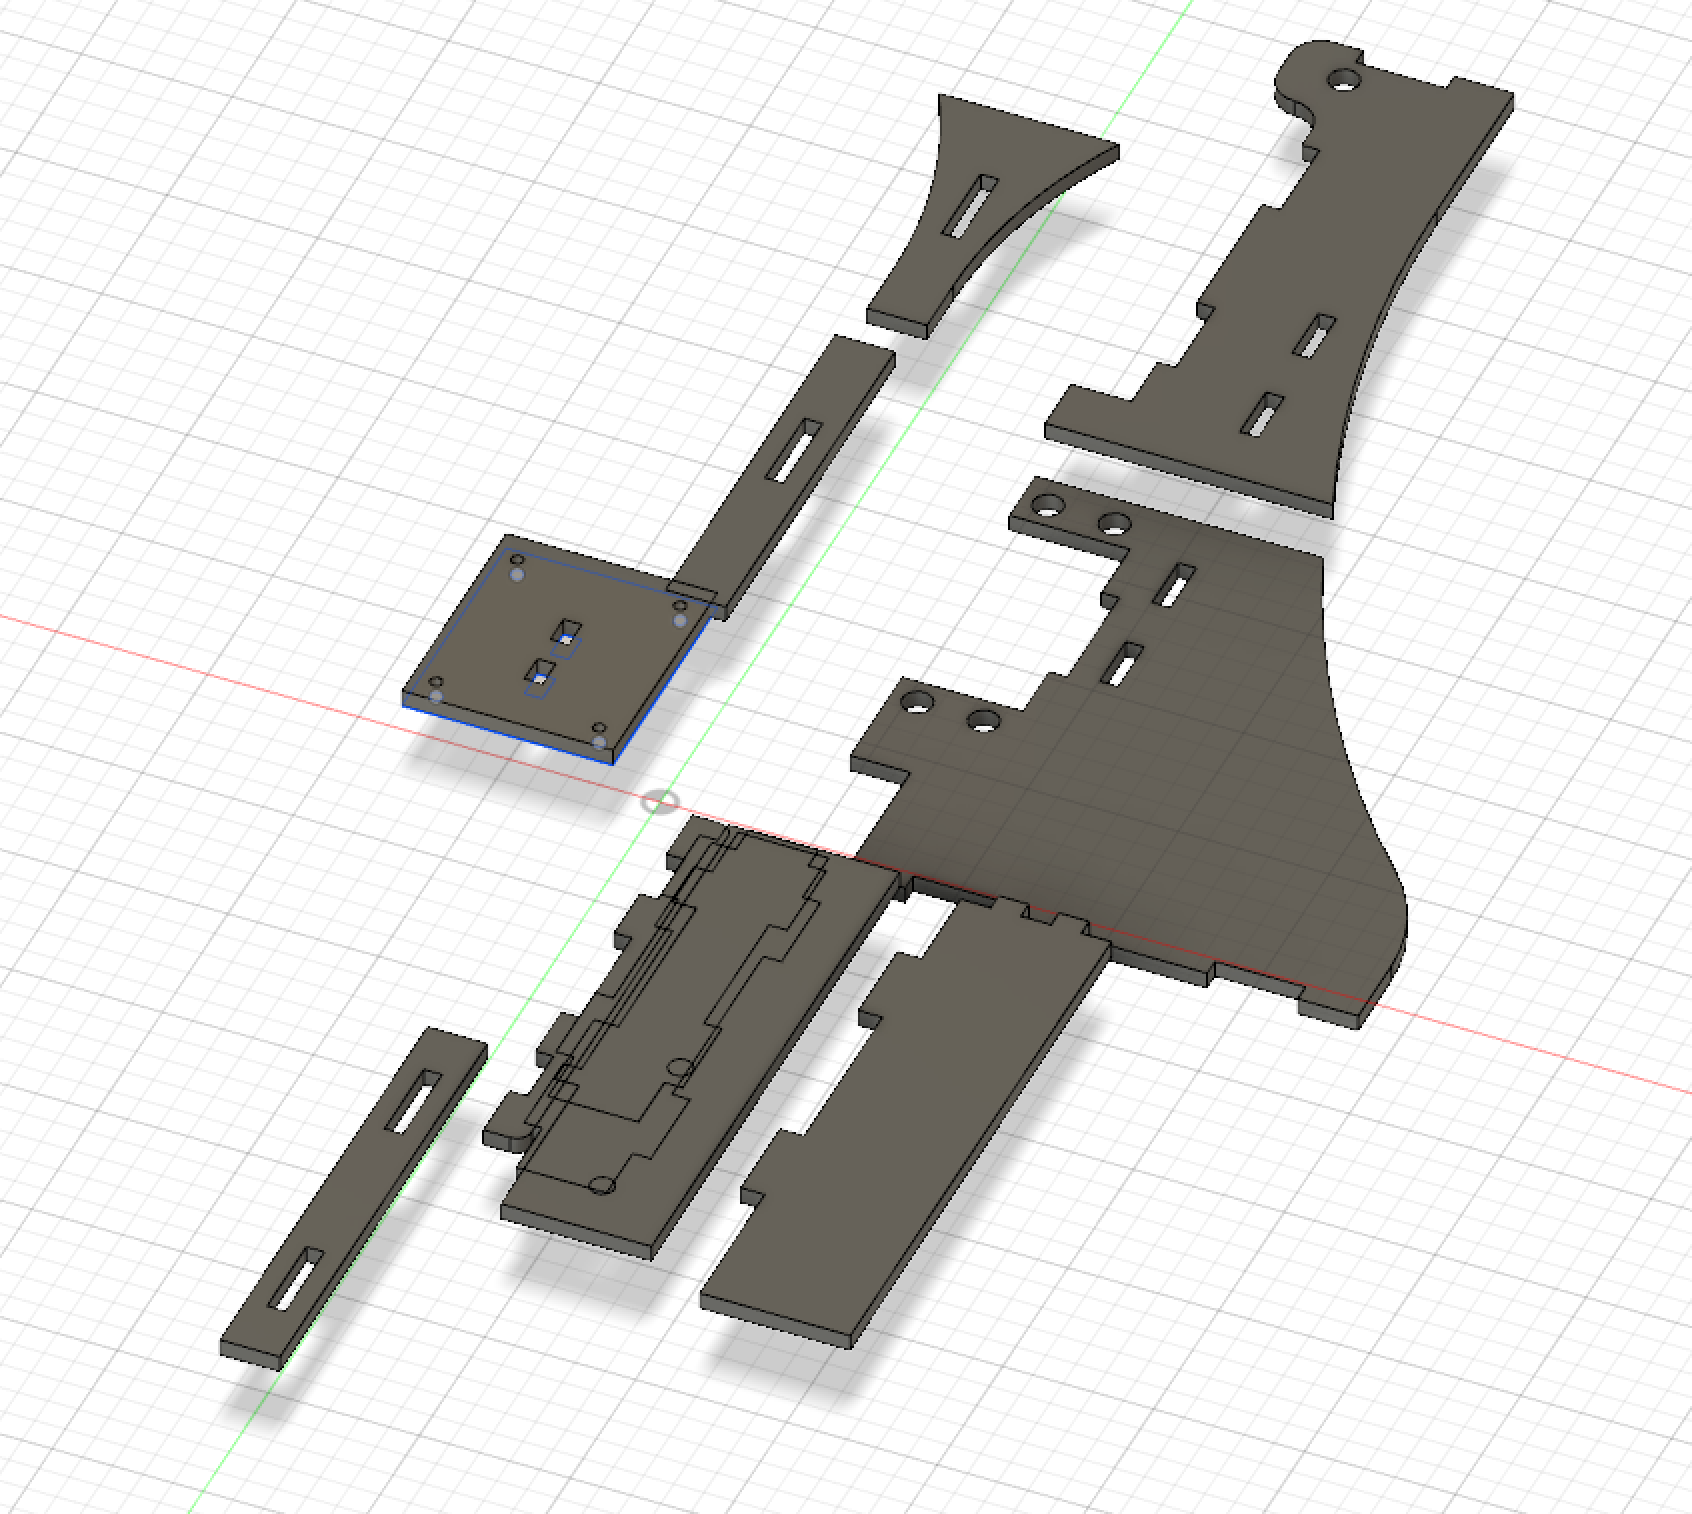
Now, there is a drawback: the cutting volume is not as large as the parts I wanted. So I’ve had to cut and stick with supports.
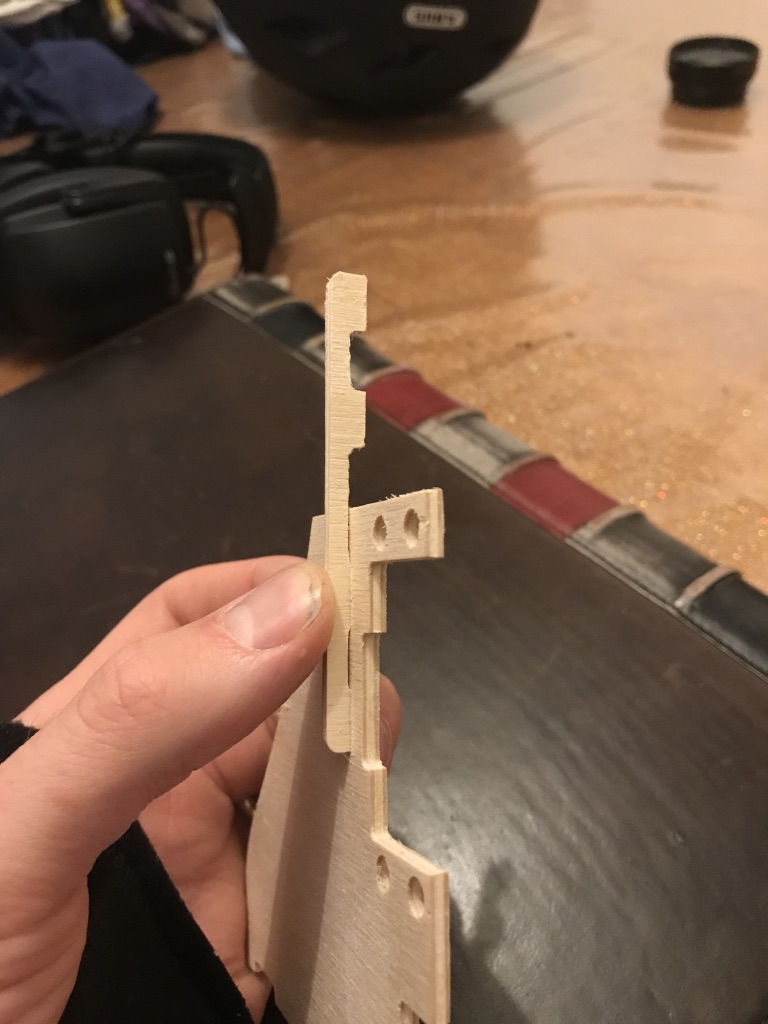
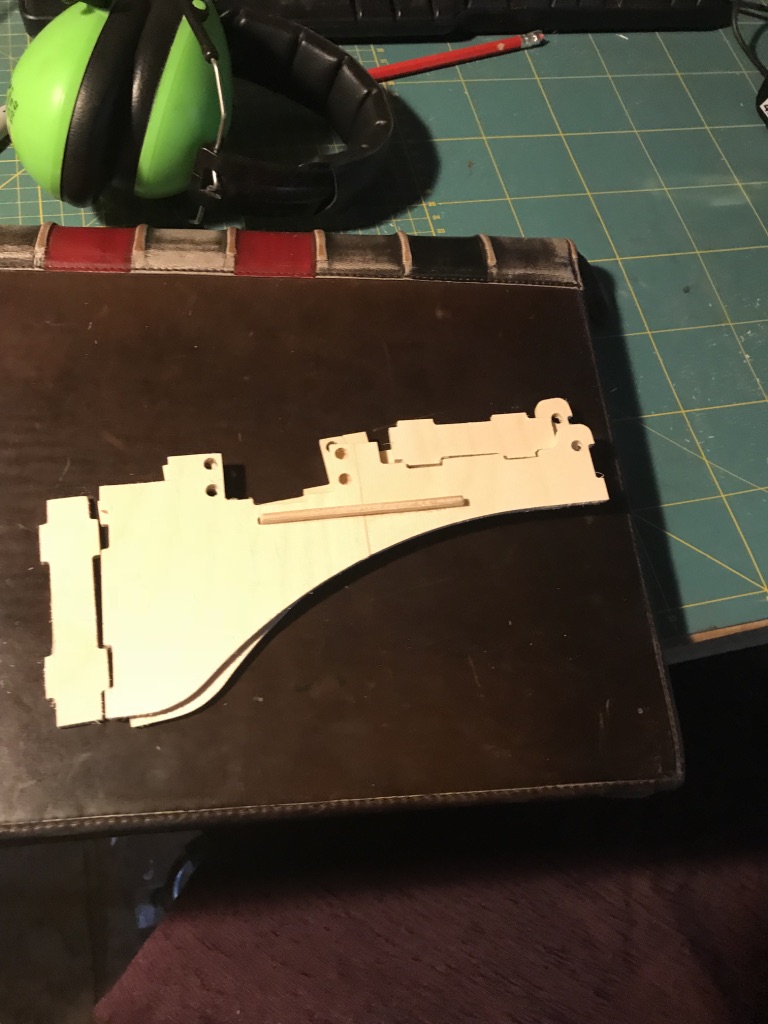
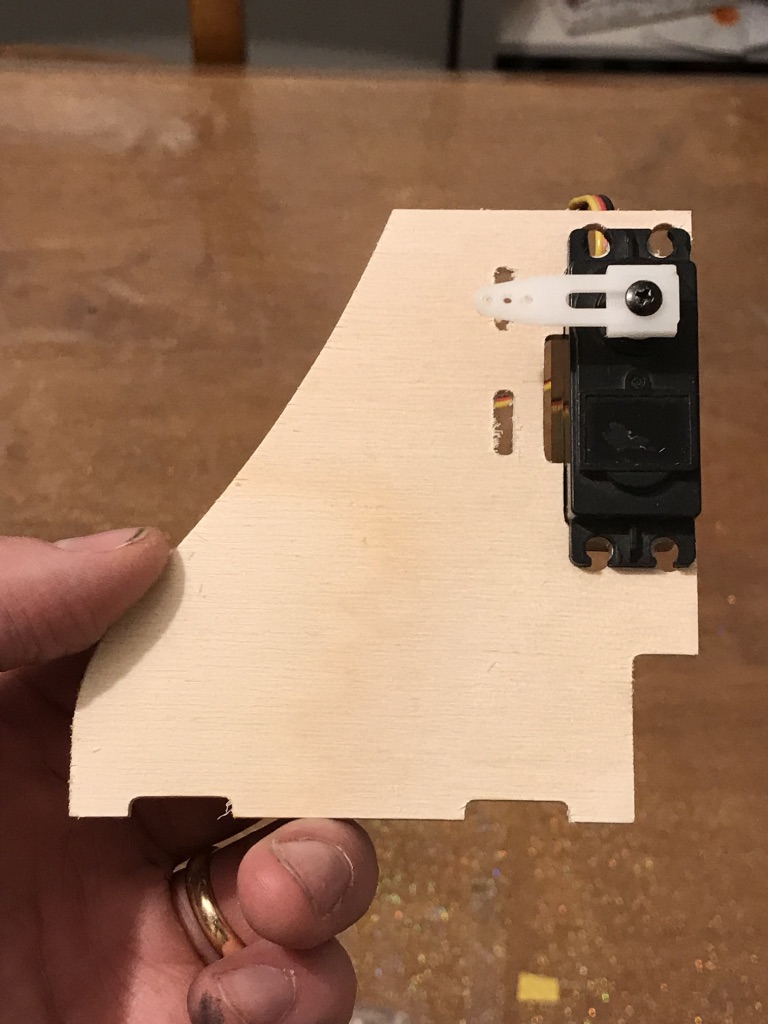
All built up
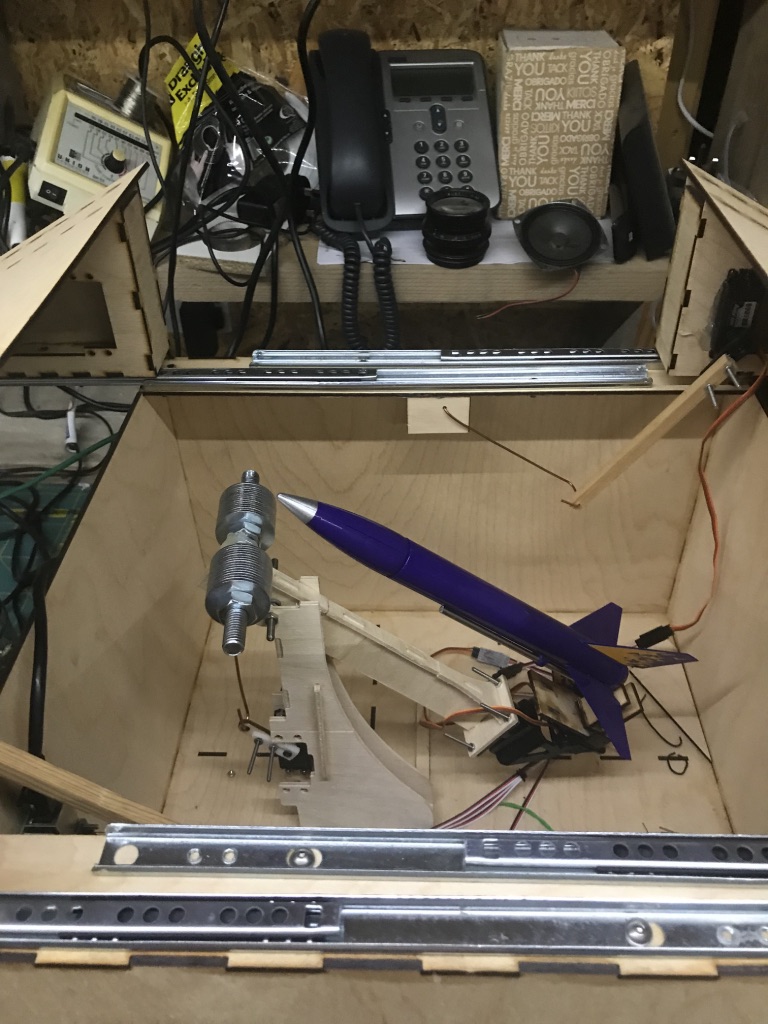
BEGIN THE ROCKET REVOLUTION

So, now we have a working system lets look at the user interface.
